|
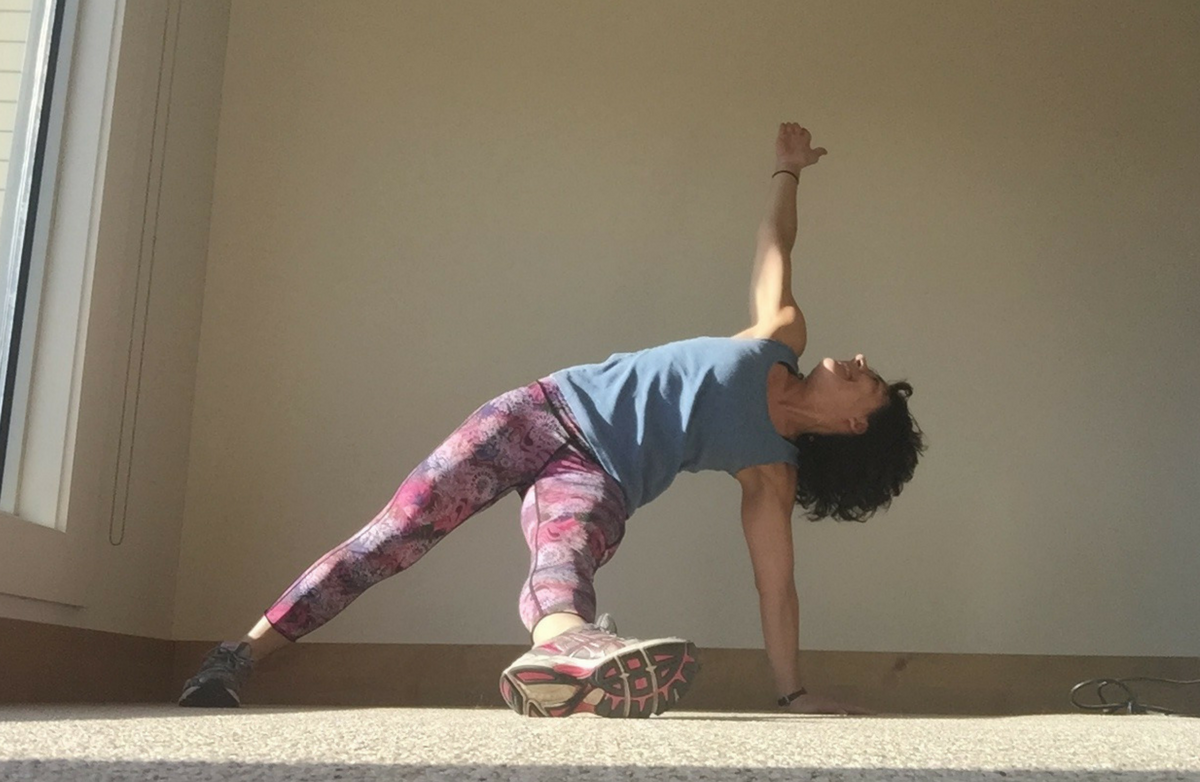
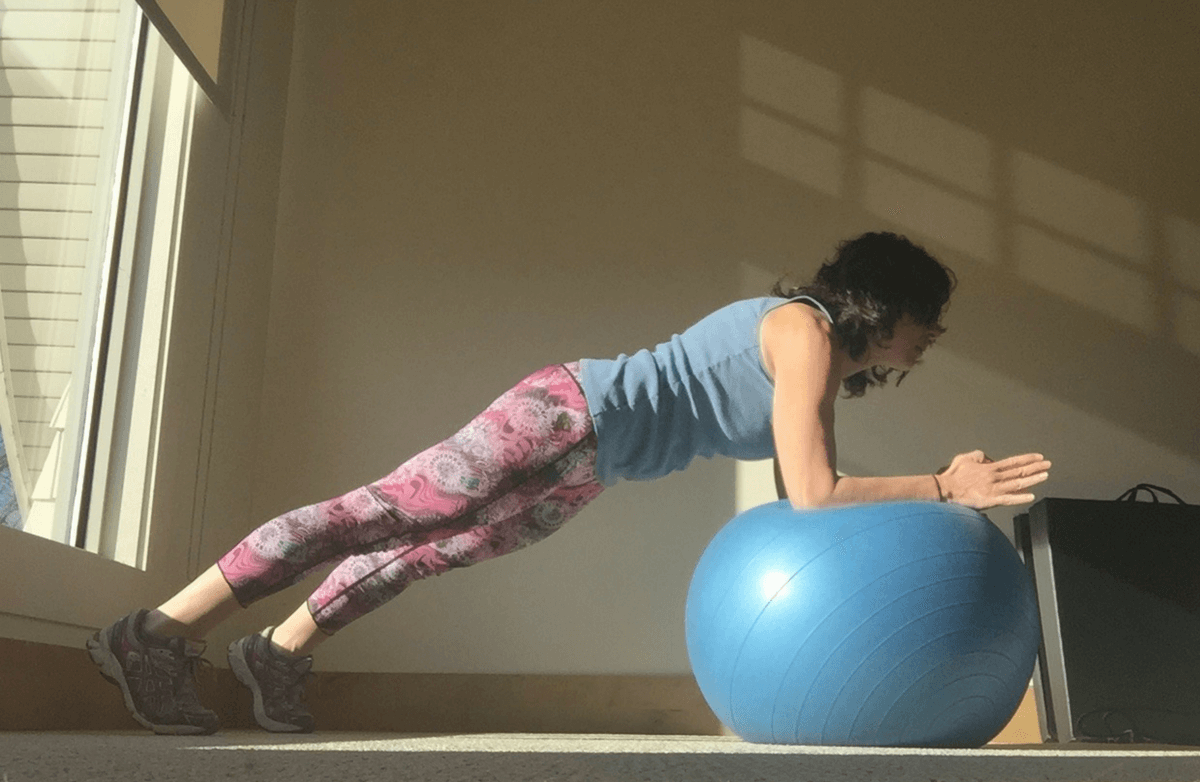
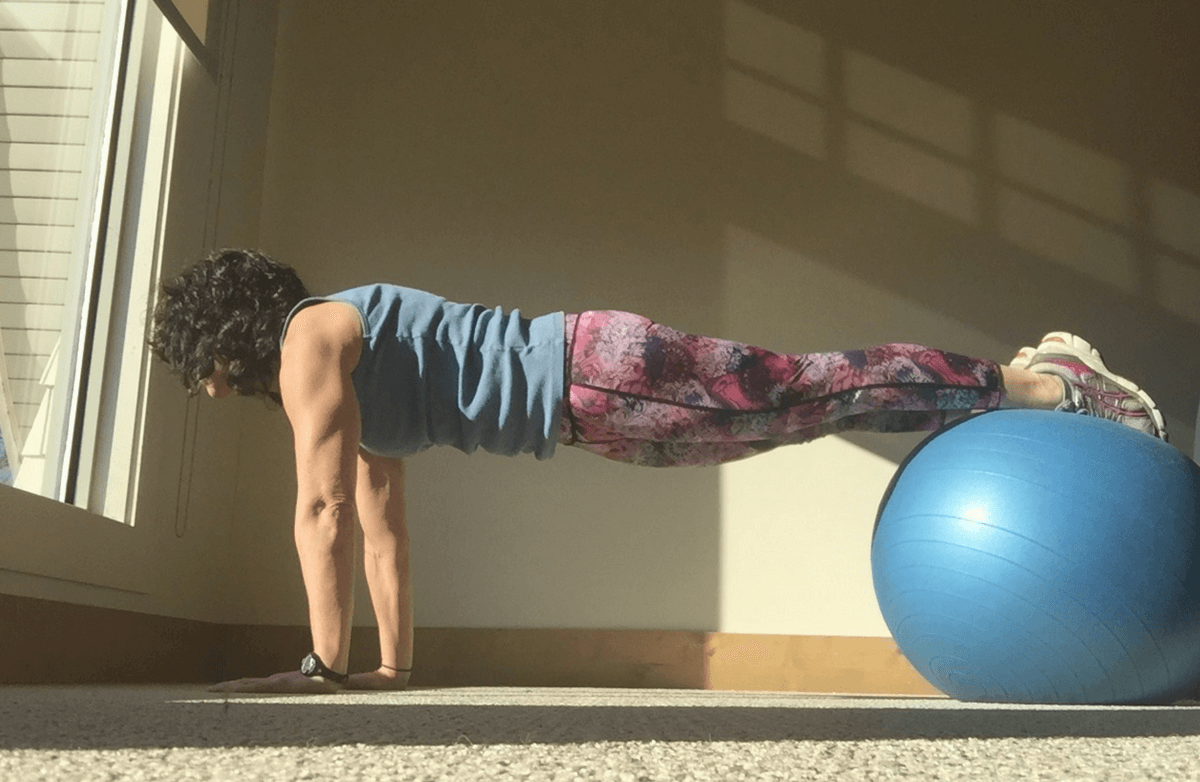
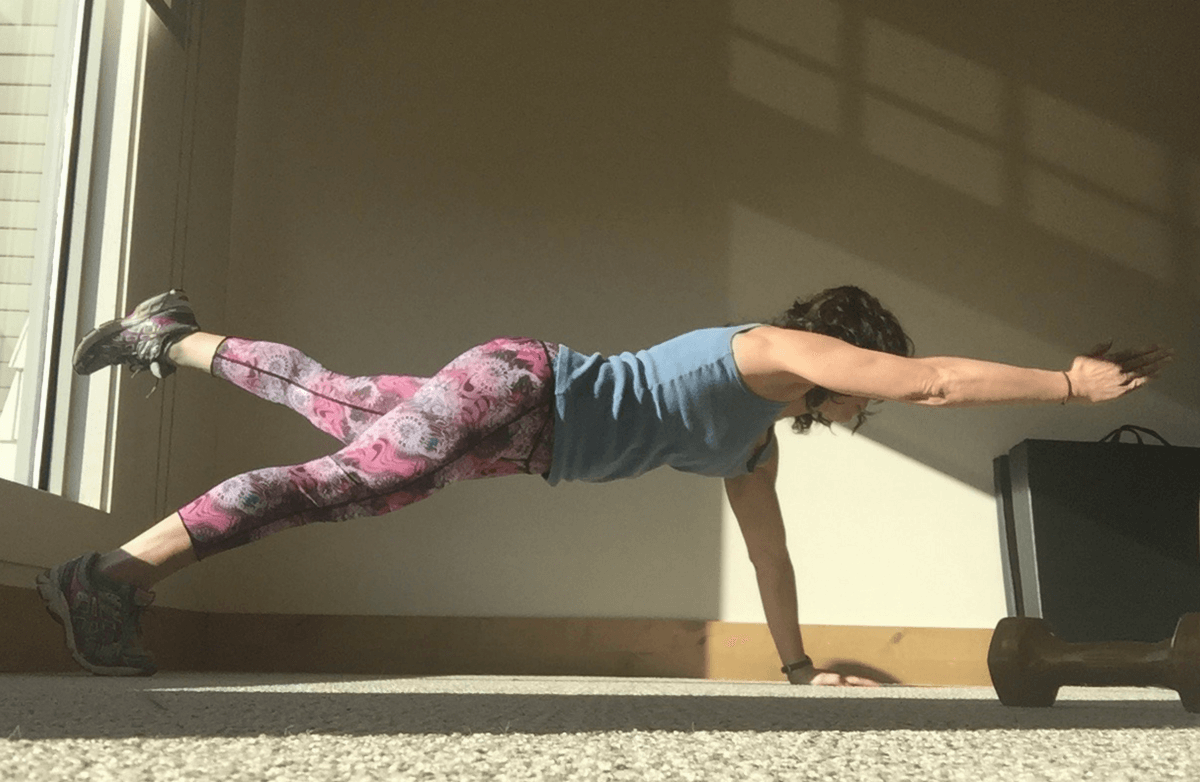
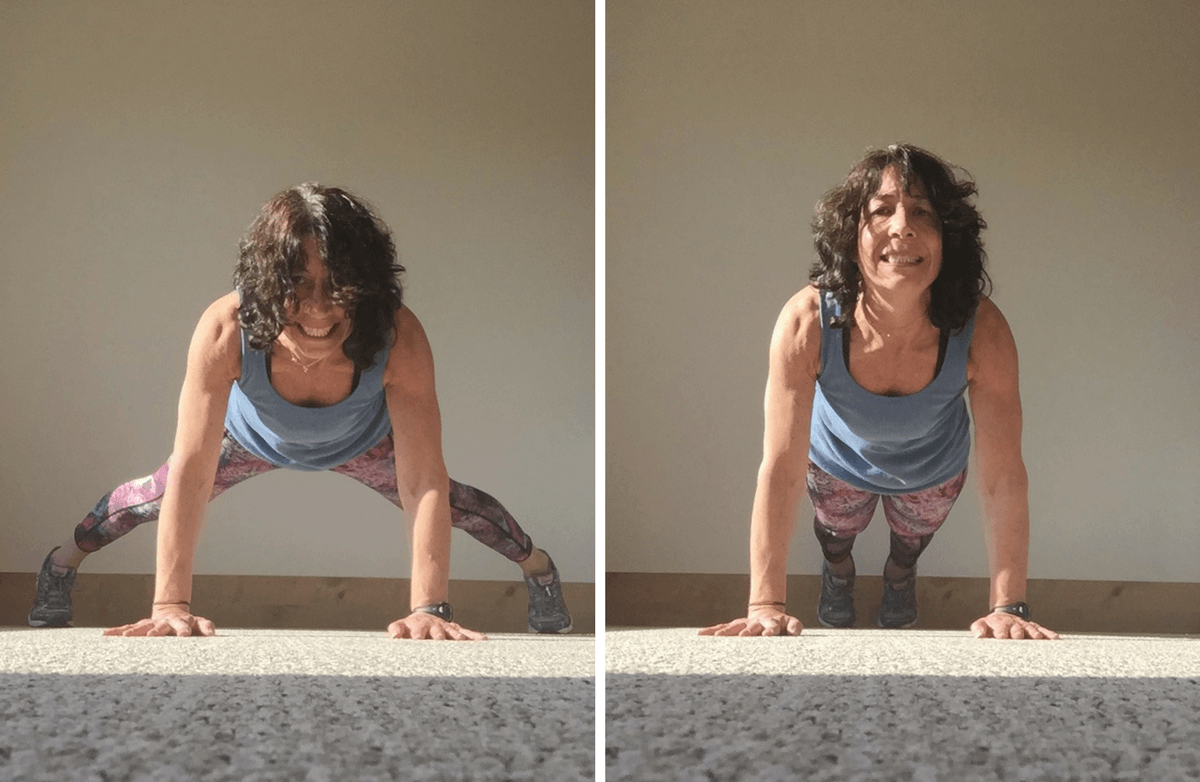
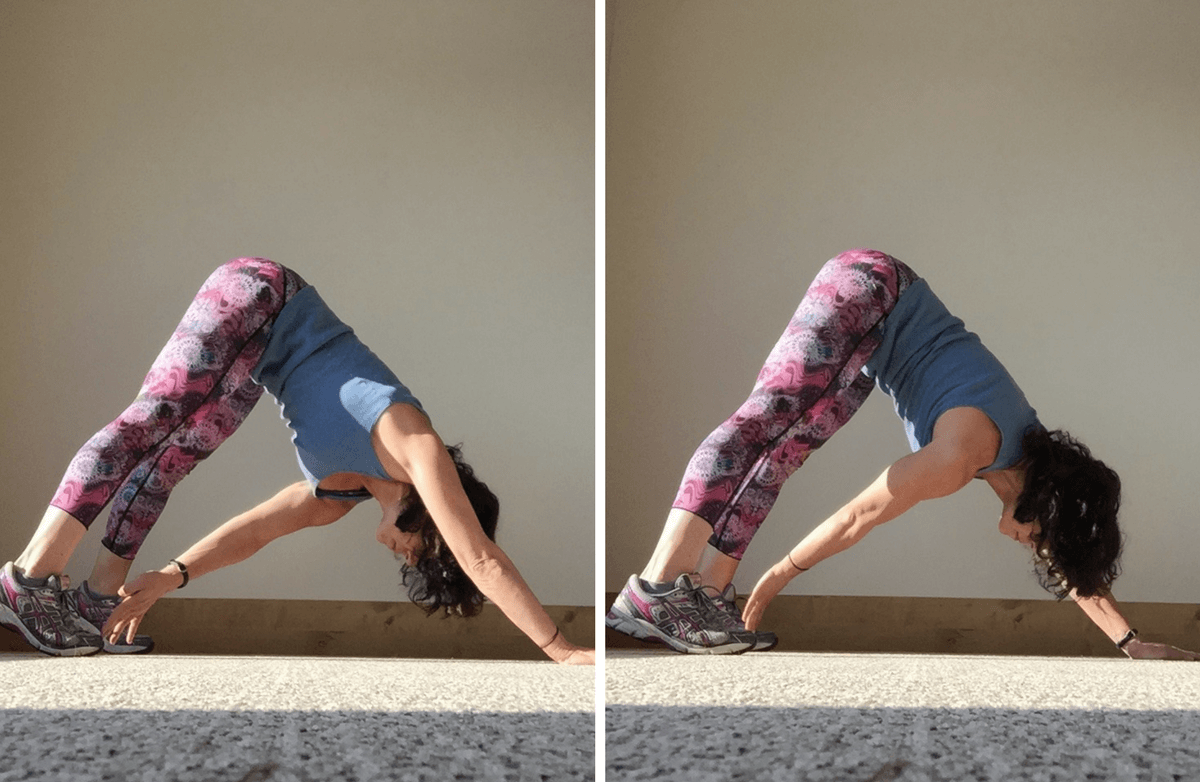
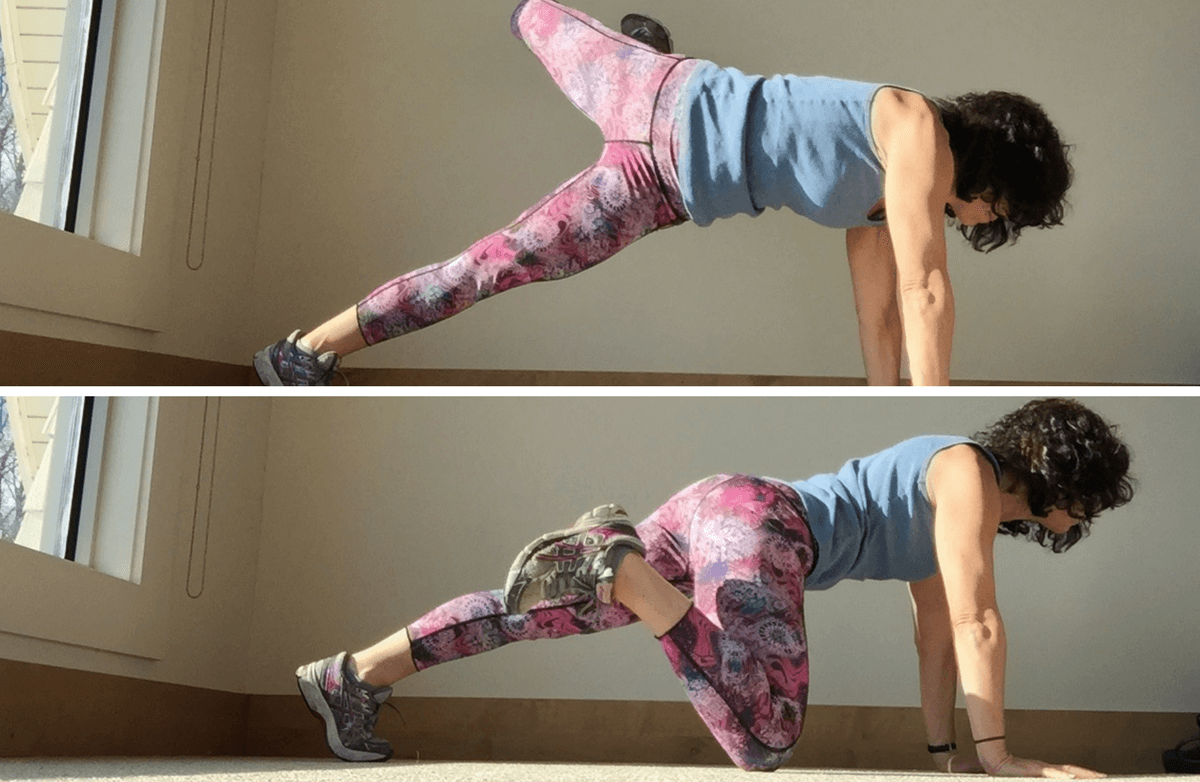
The plank, according to many experts, is one of best exercises to help strengthen our core muscles, which are key in supporting the back and abdomen. And because there are many different variations in performing this exercise, they also help strengthen our hips and pelvic floor, as well as our shoulders, arms and upper body. A strong core has been known to help provide better stability and better posture, as well as making us better and more efficient walkers and runners. In addition, a strong core helps us to perform everyday activities with a little more ease. The plank has also been shown to help relieve back pain. The best thing about the plank is that it does not require any fancy exercise equipment to perform and can be done almost anywhere, at any time. Remember that form is of the utmost importance so be sure to keep your spine straight throughout, as you do not want your back to be arched, nor do you want it to sag. Certified personal fitness trainer Cheryl Russo recommends starting small. Once you have mastered the traditional plank, consider moving on to some other variations in the beginner section, then see if you can do any advanced moves. For all variations, Cheryl suggests starting in a tabletop position on your hands and knees, wrists under shoulders and knees under hips with a neutral spine (the position your spine takes naturally). Then, take a deep inhale and draw the belly button up and back toward the spine without rounding your back, keeping your neutral alignment. In this manner, you are creating a reverse contraction, which is an isometric contraction that reaches the transverse abdominis (deep muscle of the abdomen). From all fours, move to a modified plank, then from there into whichever move you choose from the list below. Cheryl has her clients perform the reverse contraction while in the plank position, cueing them to push the rib cage down toward the ankles and to pretend the torso is a sponge and to ring out all of the water. Hold here for 10 seconds, then lower the knees to the ground for five seconds and then go back into the plank and hold for 10 seconds, then rest again for five seconds. Do this for a total of 60 seconds, taking out resting periods as you grow stronger. If you have a history of back pain or spinal issues, check with your physician to receive medical clearance before trying any of these exercises. Once you're ready, clear out some space, grab a mat, get your stability ball and get planking. Beginner MovesThe Traditional Plank How to: Draw the belly button toward the spine to protect your lower back. Arms are straight with the wrists under the shoulders and fingers of the hands are spread like a fan, pushing into the floor. Retract the shoulders, keep the body straight, pushing the ribs toward the ankles to engage the core. Look six inches forward on the floor to keep your head in line with the spine. Don’t let the hips rise up like a camel or drop down like a cobra. This is also known as the basic plank. 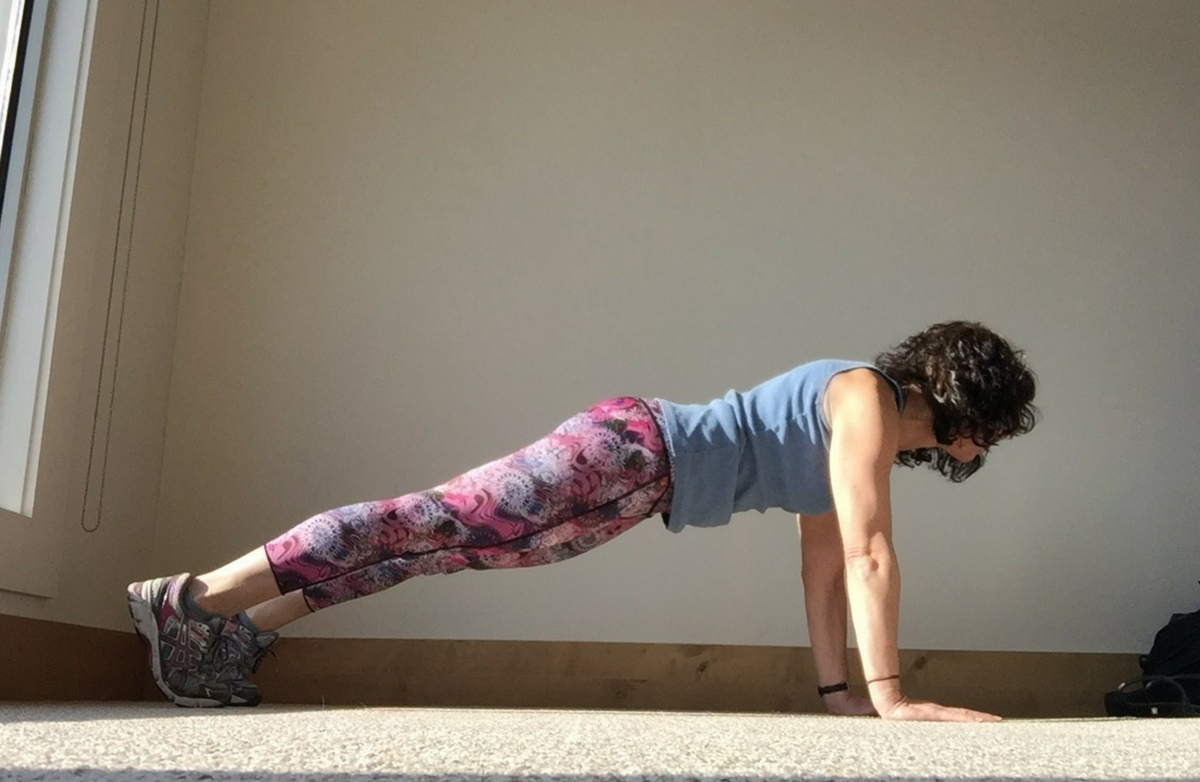 Modified Plank How to: Follow the same description as above, except you should place your forearms on the floor parallel to each other, forming the number 11, with your elbows under shoulders. 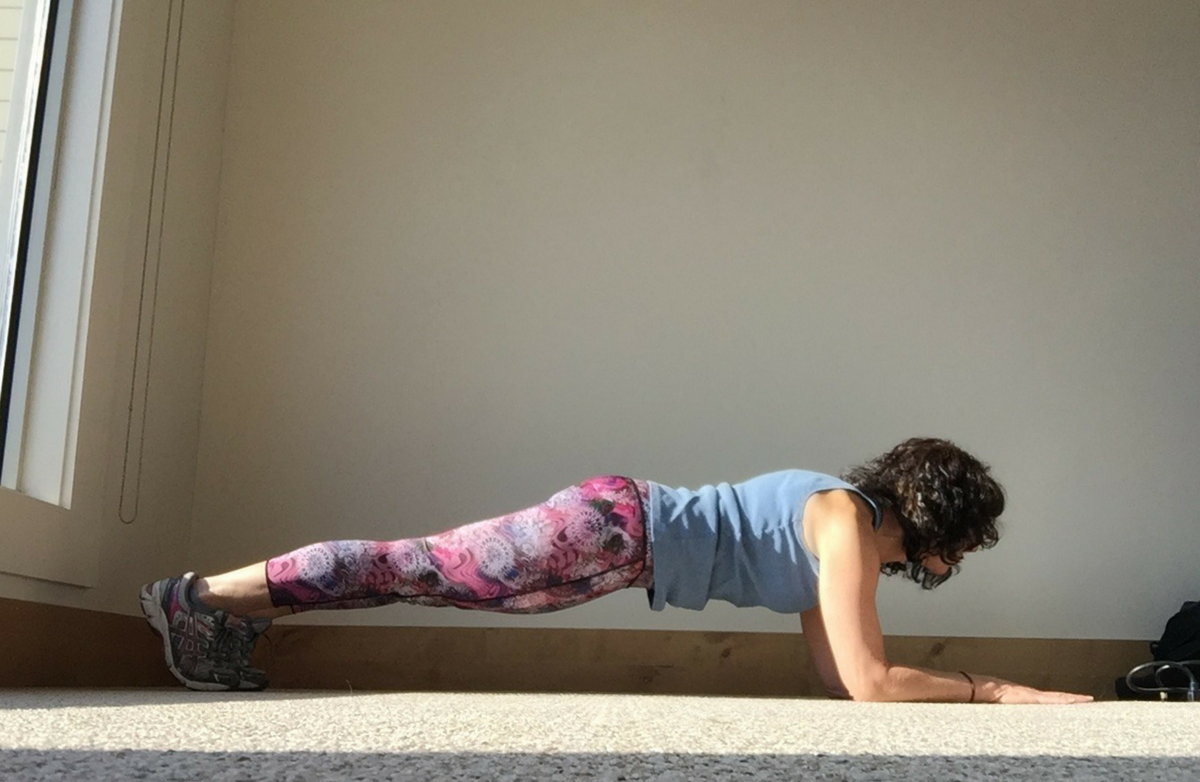 Up-Down Plank How to: Start in a modified plank position. Press your right hand into the mat as you straighten right arm and begin to rise. Then, straighten the left arm to bring the body into full plank. Bend the right arm and place forearm on the floor. Bend left arm and place forearm on the floor into modified plank. Repeat, starting with the left arm. Do five to 20 reps on each side, depending on your fitness level. 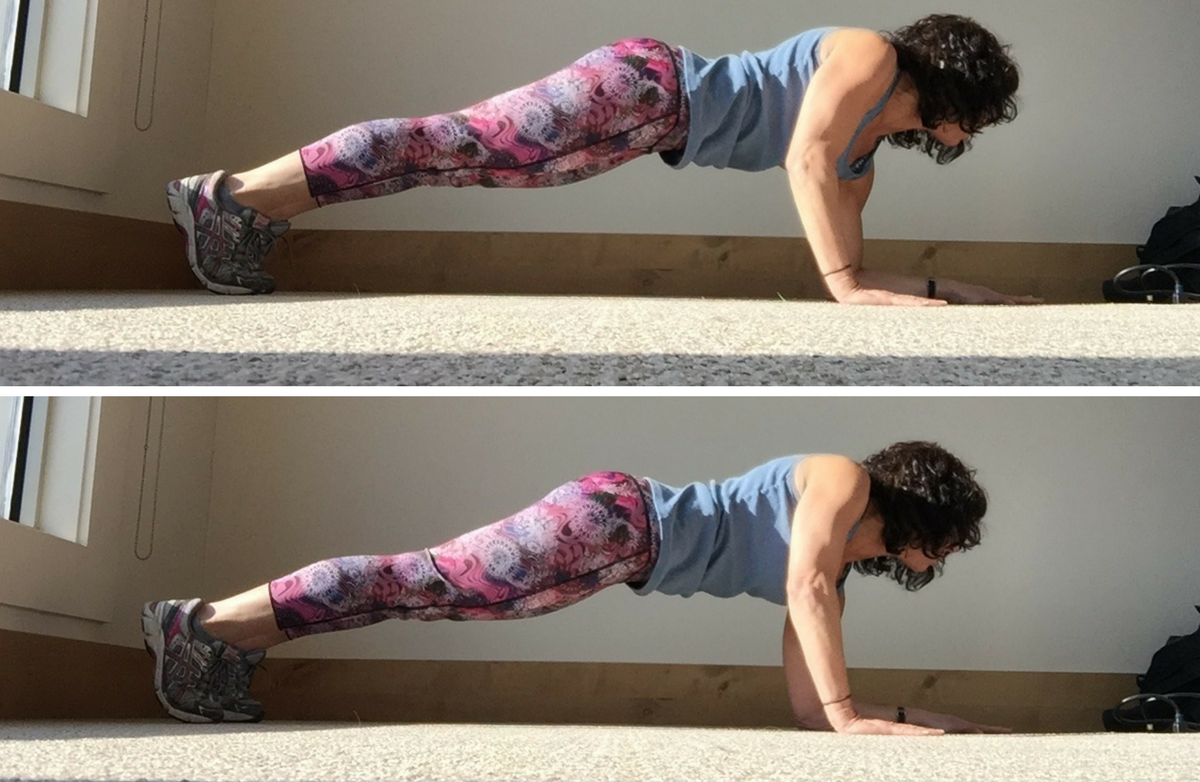 Side Plank How to: One arm is straight with the hand in line with the shoulder, fingers spread like a fan. Hips are stacked in line with one leg on top of the other. The belly button is drawn towards the spine to stabilize the core muscles. If you need more stability, stagger the feet. Switch sides after completing your plank on the right side. Hold for 10 to 30 seconds on each side, depending on your fitness level. (In side plank, the challenge happens by adding on levels, not necessarily time. You can raise the top leg, raise the arm, drop the hip down and up, add a dumbbell, etc.) .png) Modified Side Plank How to: Same as side plank, except your forearm is on the floor, perpendicular to the torso, elbow in line directly under the shoulder. Switch sides after completing the plank on one side. Hold for 10 to 30 seconds on each side. 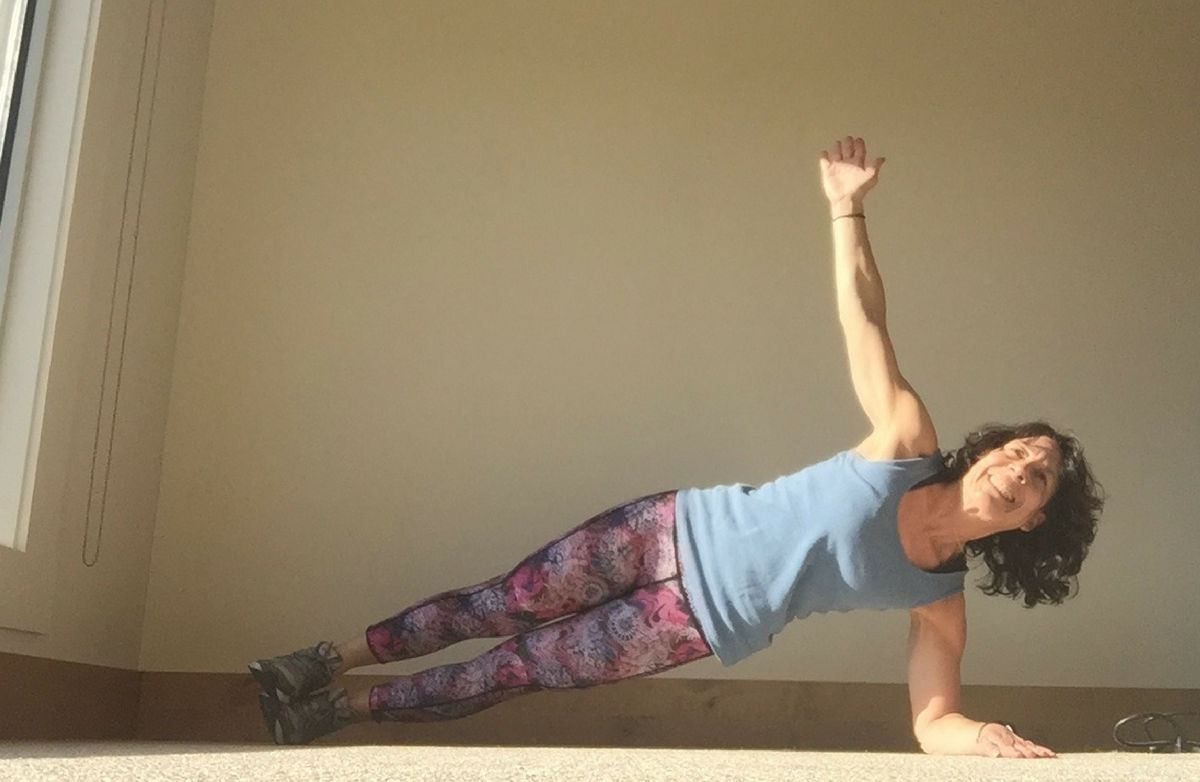 Side Plank With a Stability Ball How to: With the stability ball at your side, place your forearm on the ball, keeping your belly button pulled into to the spine and lifting up out of the forearm. Legs can be straight and stacked for an extra balance challenge. Switch sides after completing the plank on one side. Hold the position for 10 to 30 seconds on each side. 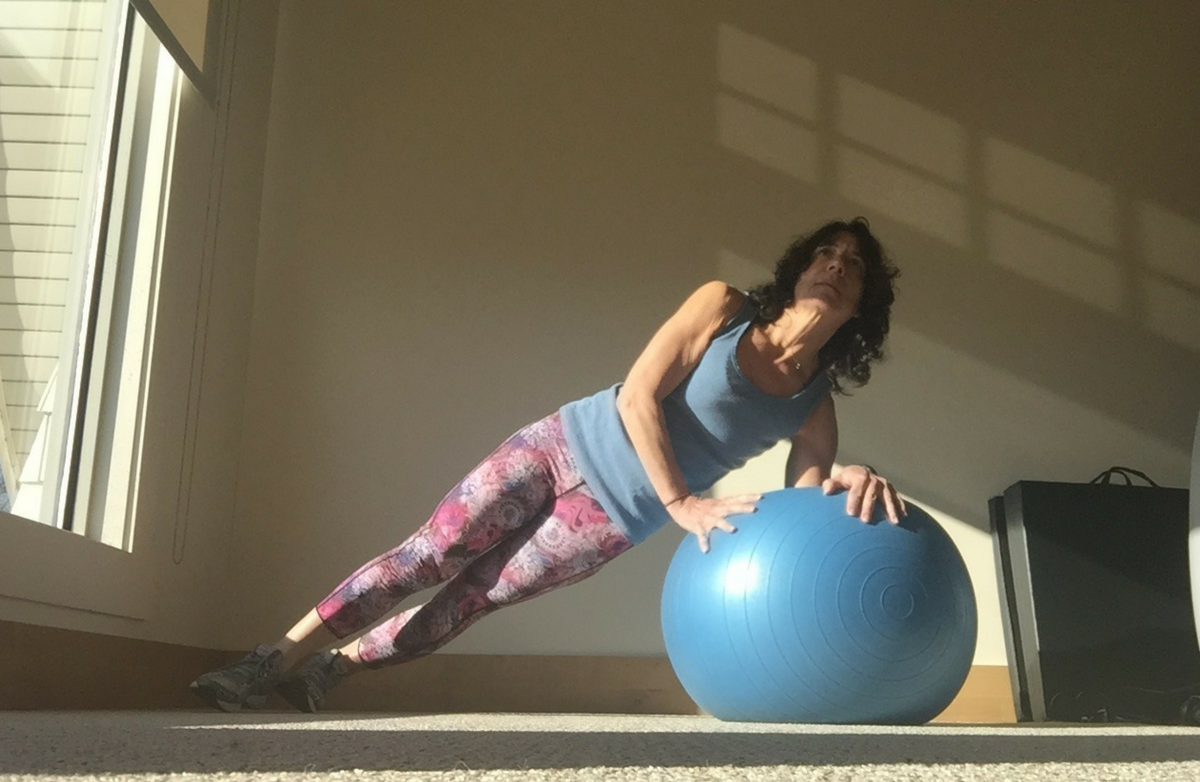 Modified Side Plank With a Stability Ball How to: Kneeling, with the stability ball at your side about four inches away, extend your top leg out to the side and straighten, keeping the bottom leg bent. Lean your side body over the ball, keeping the hips stacked and the belly button to the spine. Lift up from the top of the rib cage and extend the top arm toward the sky. Complete your allotted time, then switch to the other side. Hold for 10 to 30 seconds on each side. 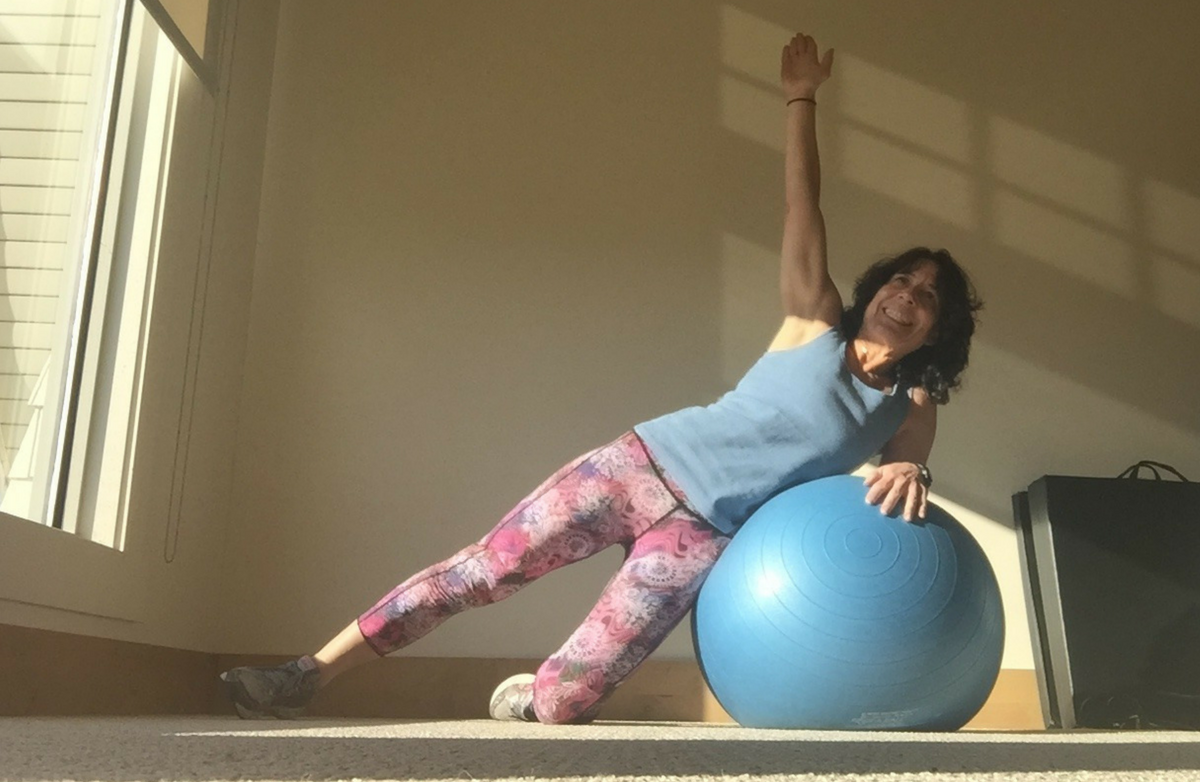 Reverse Plank How to: Sitting down with legs together and straight out on the floor, place your hands on the floor behind you in line with the shoulders with your fingers facing forward toward your heels. Press the palms into the floor while raising the hips up forming a straight line from the shoulder to the hips to the ankles. 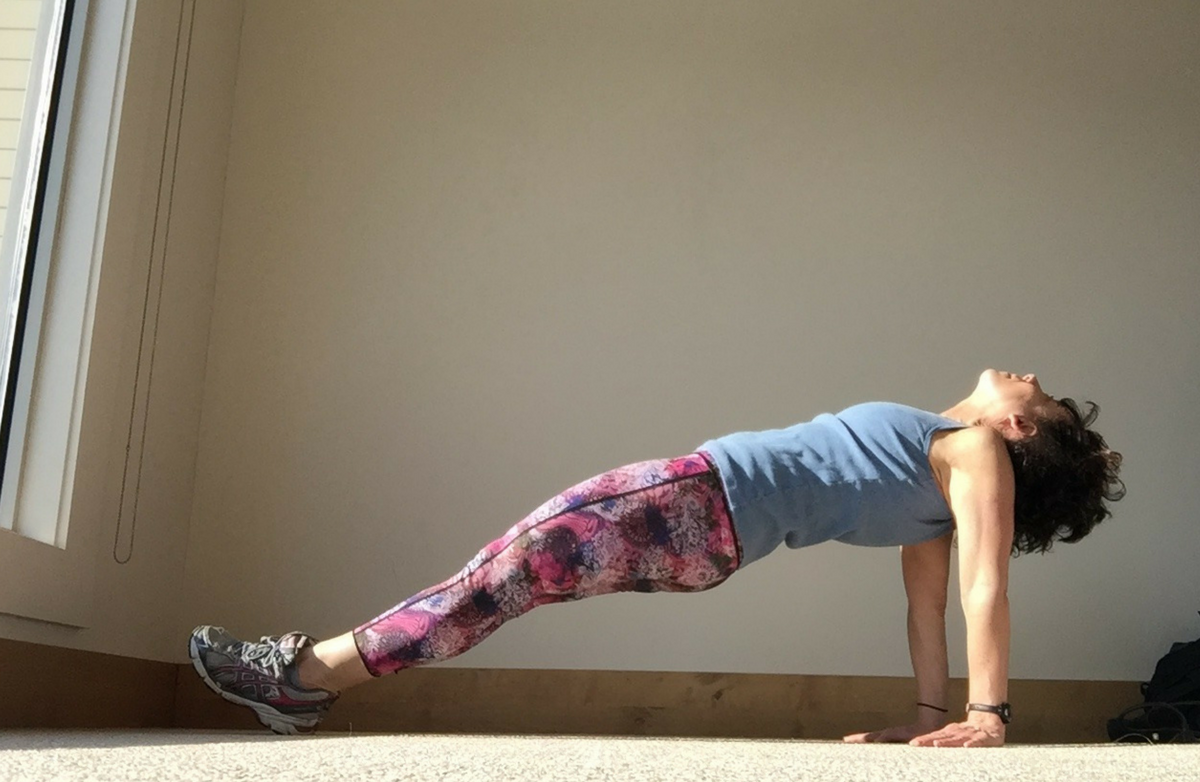 |
More From SparkPeople
|

.png)
.jpg)


.jpg)


